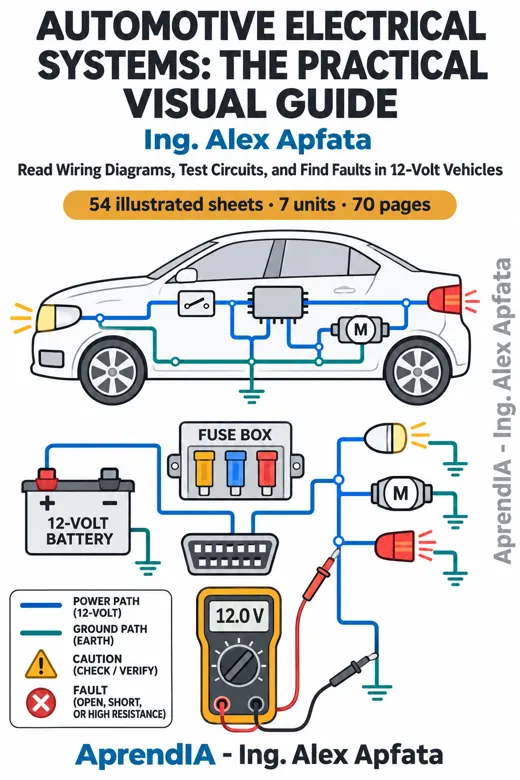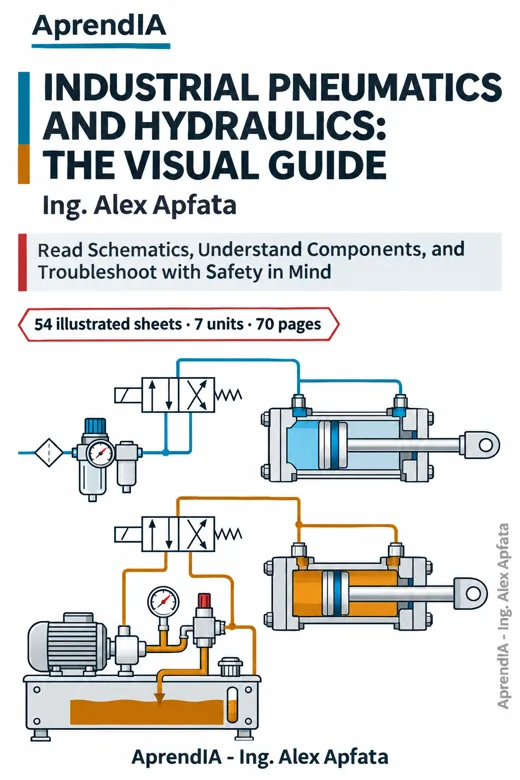
✳Wood-Frame Construction Basics: The Visual Guide for New Builders in the U.S.✳EPA 608 Certification: The Visual Study Guide for HVAC/R Technicians✳Home Repair Basics: The Visual Guide for New Homeowners✳Practical Electronics from Scratch: The Visual Guide✳Automotive Oscilloscope Diagnostics: The Visual Guide for Technicians✳Automotive Electrical Systems: The Practical Visual Guide✳PLC Programming from Zero: The Visual Guide to Ladder Logic✳Industrial Pneumatics and Hydraulics: The Visual Guide✳High-Protein Meal Prep: The Visual Recipe Guide✳Hands-On Learning Activity Book for Kids Ages 4-8
Need help? ↗

4 real pages from the book · tap one to enlarge

BUSINESS & ENTREPRENEURSHIP · EDITION UNITED STATES · English · 70 PAGES

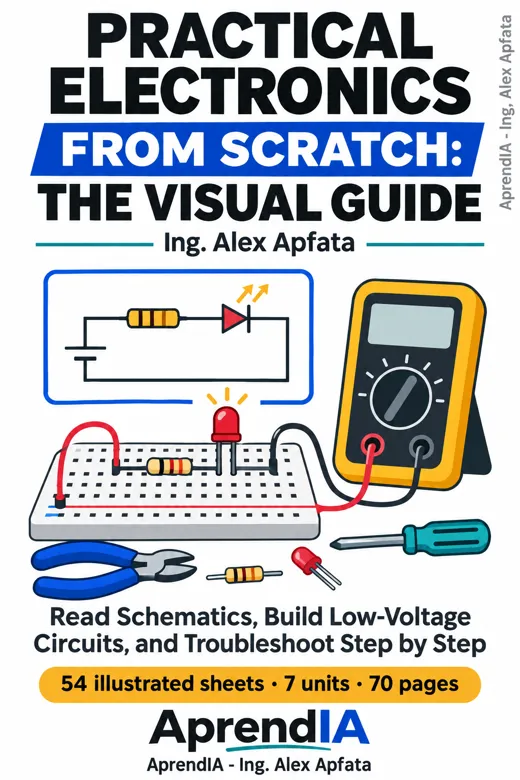
Practical Electronics from Scratch: The Visual Guide

Read Schematics, Build Low-Voltage Circuits, and Troubleshoot Step by Step

$27.00USD · PDF

Over 5,000 guides delivered every month

INSIDE THIS GUIDE

What you will learn.

See the pages ↑
  1. 01

    Calculate voltage, current, resistance, and power, then check your predictions in series and parallel circuits.

  2. 02

    Identify common components, read their schematic symbols, and assemble low-voltage breadboard circuits.

  3. 03

    Use a multimeter, solder and desolder safely, and follow a troubleshooting checklist to isolate circuit faults.

TABLE OF CONTENTS

Everything inside, unit by unit.

7 units · 54 topics

  1. Unit 1: Start Safely and Understand Electricity

    1. Know Your Limits: Low-Voltage Work Only
    2. Set Up a Safe Workbench
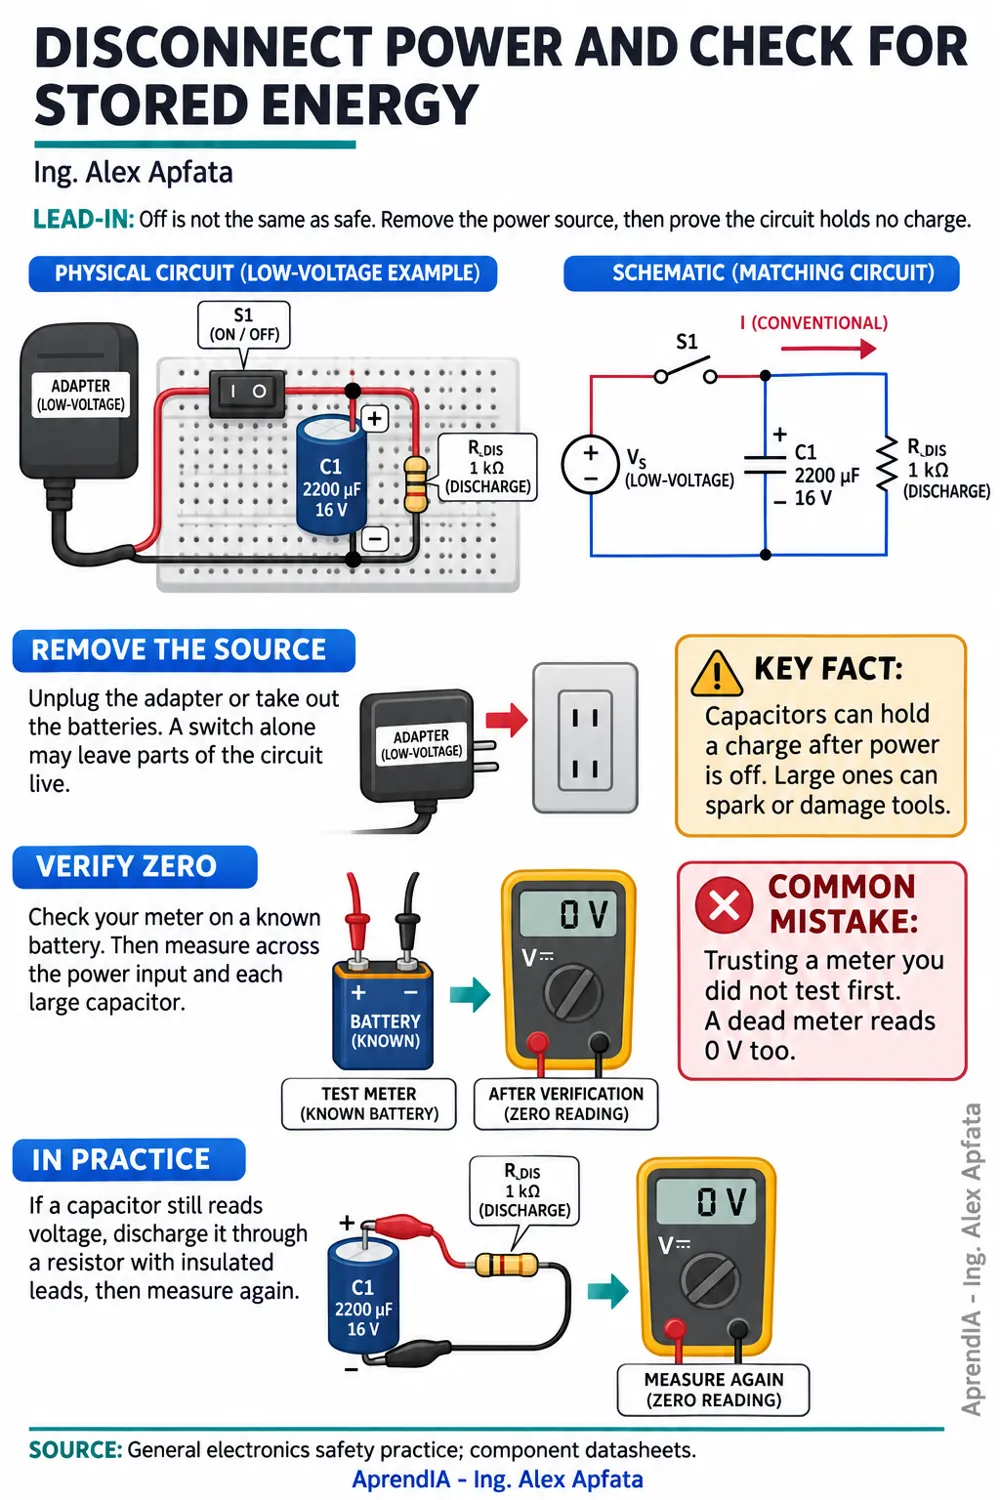
    3. Disconnect Power and Check for Stored Energy
    4. Voltage: Measure the Difference Between Two Points
    5. Current: Follow the Complete Path
    6. Resistance: Understand What Limits Current
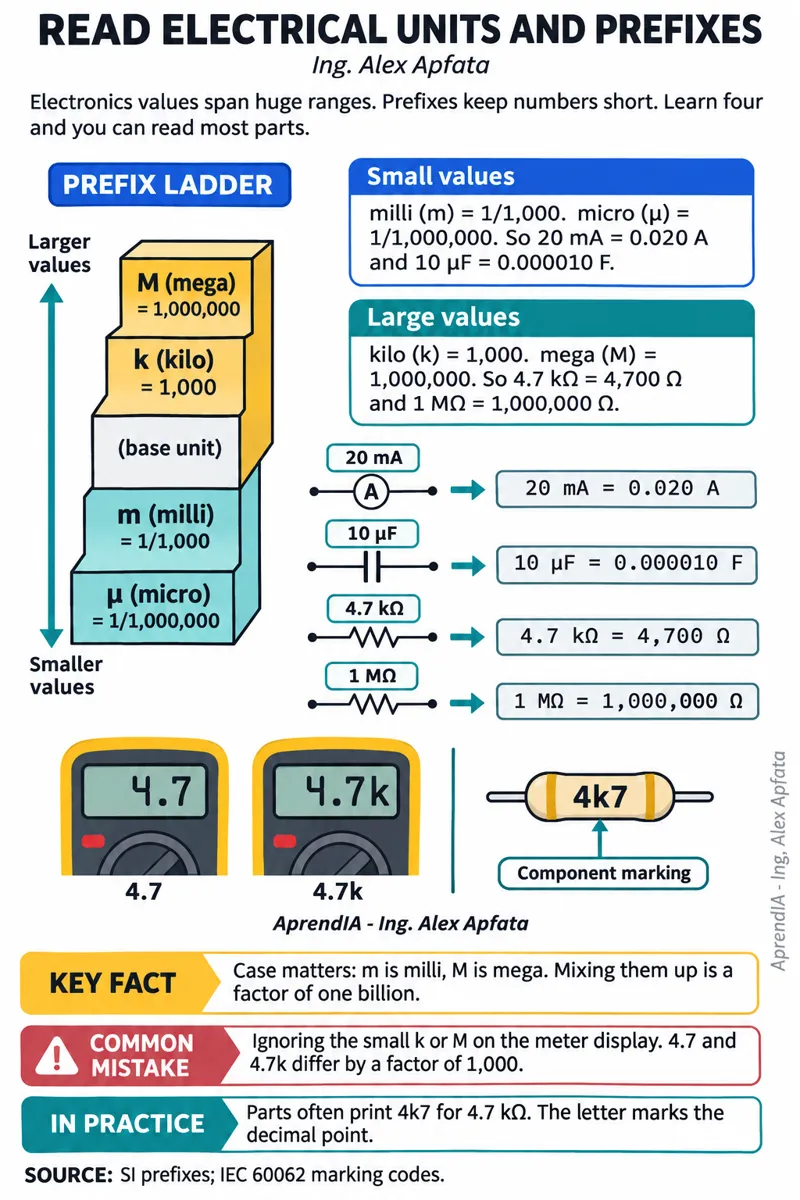
    7. Read Electrical Units and Prefixes
    8. Tell DC, AC, Polarity, and Circuit Common Apart
  2. Unit 2: Read Circuits and Predict What They Do

    1. Read Common Schematic Symbols
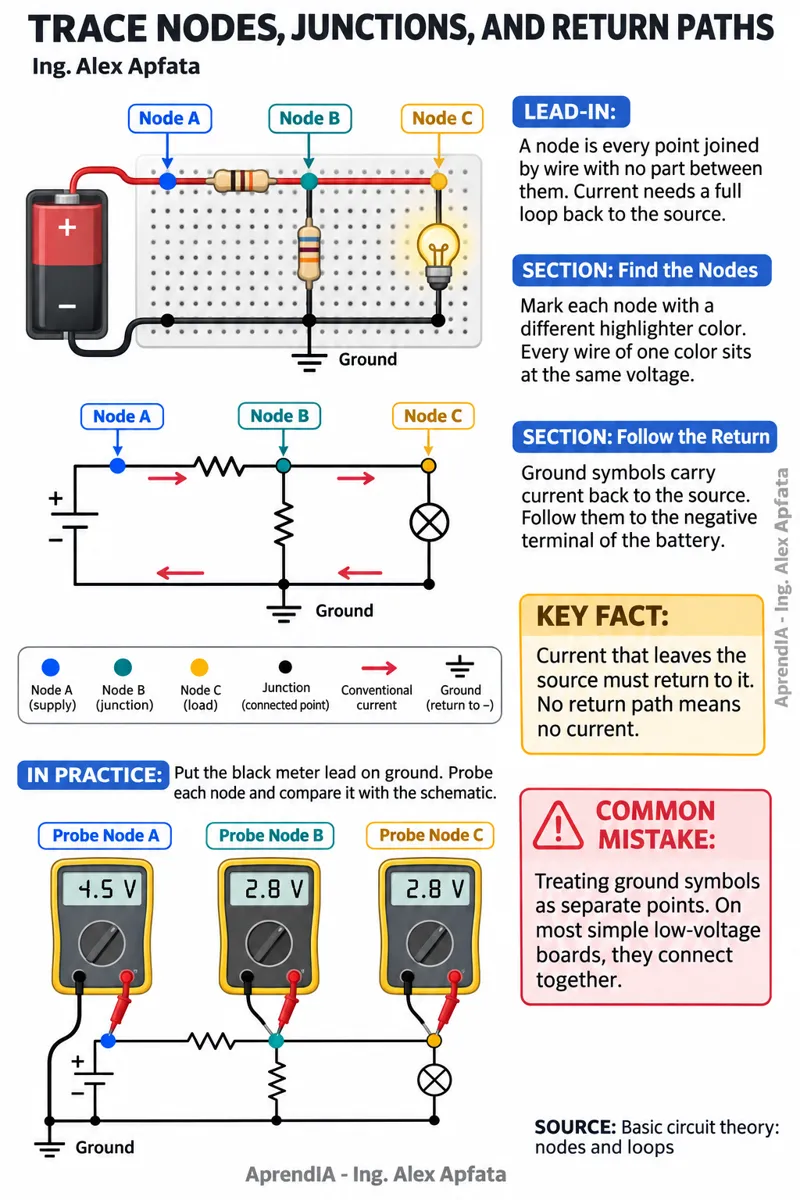
    2. Trace Nodes, Junctions, and Return Paths
    3. Use Ohm's Law to Find Voltage, Current, or Resistance
    4. Calculate Power and Check Component Ratings
    5. Series Circuits: Share Voltage Along One Path
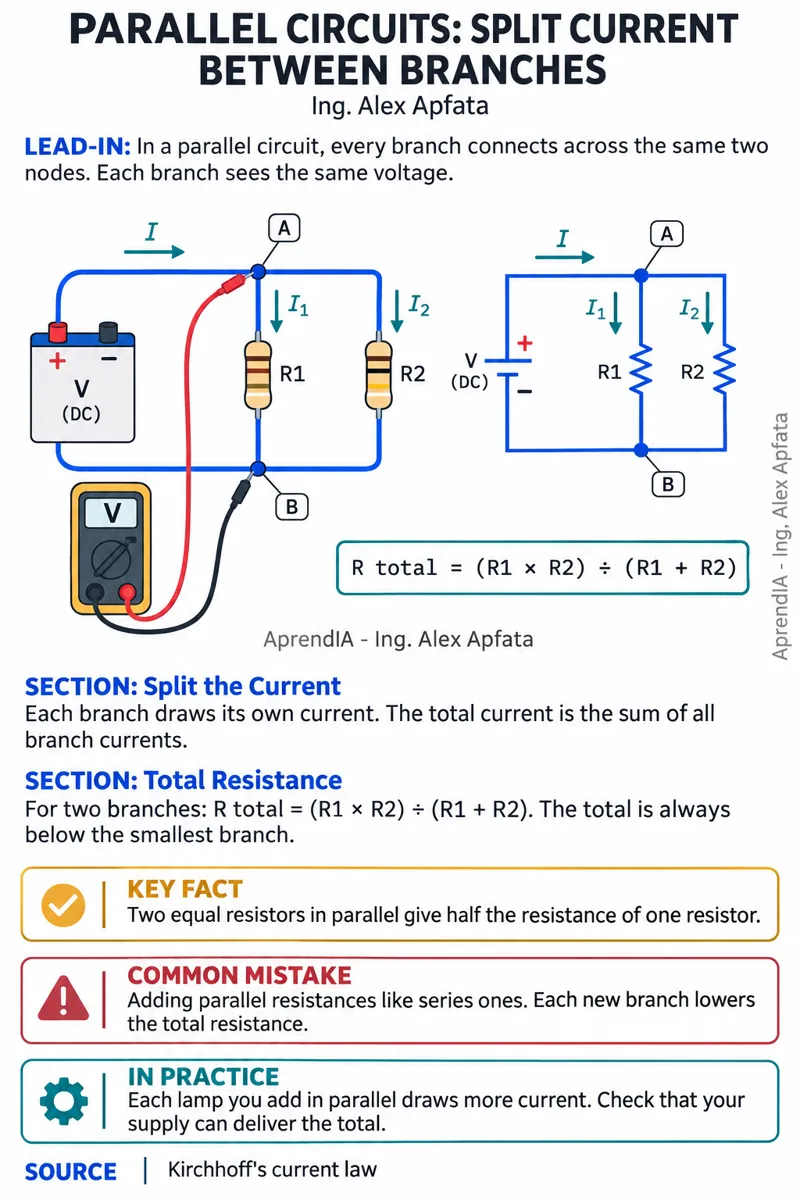
    6. Parallel Circuits: Split Current Between Branches
    7. Voltage Dividers: Predict the Effect of a Load
    8. Recognize Open Circuits, Short Circuits, and Overloads
  3. Unit 3: Use Your Multimeter with Confidence

    1. Identify Meter Functions, Input Jacks, and Lead Limits
    2. Choose a Range and Read the Display
    3. Measure DC Voltage Across Two Points
    4. Measure Resistance with Power Disconnected
    5. Use Continuity Mode to Check a Path
    6. Use Diode Mode and Understand Its Limits
    7. Measure Current in Series and Return the Lead to the Voltage Jack
    8. Check Unexpected Readings Before You Trust Them
  4. Unit 4: Identify and Use Common Components

    1. Match Physical Parts to Schematic Reference Designators
    2. Read Resistor Color Bands and Printed Codes
    3. Use Potentiometers and Identify the Wiper
    4. Capacitors: Read Values, Polarity, and Voltage Ratings
    5. See How a Capacitor Charges and Discharges
    6. Diodes: Identify the Anode, Cathode, and Current Direction
    7. LEDs: Check Polarity and Choose a Current-Limiting Resistor
    8. Identify Switch Contacts, Connectors, and Fuses
  5. Unit 5: Switch Loads and Choose Safe Power

    1. Read a Datasheet Before You Connect a Part
    2. Use an NPN Transistor as a Low-Side Switch
    3. Use a Logic-Level MOSFET as a Low-Side Switch
    4. Relays: Separate the Coil from the Contacts
    5. Protect a DC Coil Driver with a Flyback Diode
    6. Choose a Power Source and Set a Bench Supply's Current Limit
    7. Use Batteries Safely and Match Rechargeable Packs to Their Chargers
  6. Unit 6: Build, Solder, and Inspect Your Work

    1. Map Breadboard Connections and Split Power Rails
    2. Turn a Schematic into a Breadboard Layout
    3. Build and Measure a Switched LED Circuit
    4. Build and Check a Transistor-Driven DC Relay Circuit
    5. Prepare Wire, Leads, and Through-Hole Parts
    6. Control Soldering Heat, Flux Fumes, and Lead Exposure
    7. Make and Inspect a Through-Hole Solder Joint
    8. Desolder a Part Without Lifting Pads or Damaging Traces
  7. Unit 7: Find Faults One Step at a Time

    1. Define the Symptom and Record What Changed
    2. Inspect the Circuit with Power Disconnected
    3. Check the Source, Polarity, Fuse, and Return Path
    4. Compare Expected and Measured Voltages at Test Points
    5. Isolate a Suspect Section Before Replacing Parts
    6. Work Through a Relay Circuit That Will Not Switch
    7. Verify the Repair, Record the Result, and Know When to Stop
  8. Glossary: Essential Bench Terms, Symbols, and Abbreviations

Before you start

What does my purchase include?+

This digital PDF guide, United States edition, for personal use. No printed books, other titles or subscriptions.

Can I read it on my phone?+

Yes. Open the PDF on your phone, tablet or computer with any PDF reader.

How do I get the book and how can I pay?+

Checkout opens Stripe (card) or PayPal and you see the amount before confirming. As soon as the payment is verified you download the PDF and get an email with your private access link. The whole thing takes under 2 minutes.

What if it is not what I need?+

You have 30 days from purchase to ask for a refund by replying to your order email. We refund the full amount to the same payment method, no questions asked.

$27.00USD · digital PDF

YOUR NEXT READ

Make it yours.

Practical Electronics from Scratch: The Visual Guide

PDF · One-time payment$27.00 USD

Checking availability…

Have a coupon?

Stripe processes the payment. When you come back you can download your book, and we email you the link.

Book page